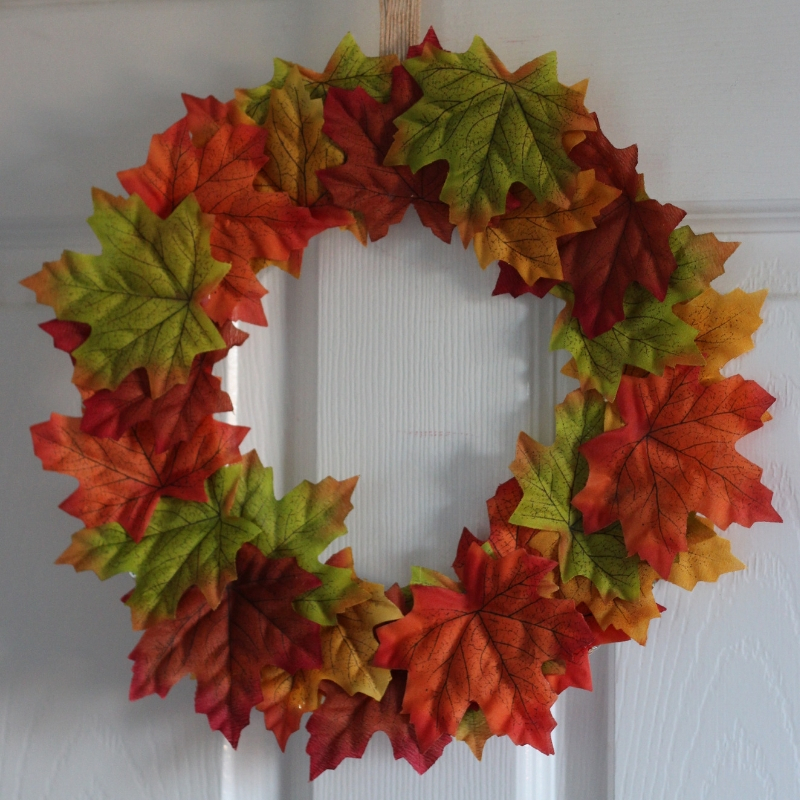
Paper plate Autumn/Fall leaf wreaths Mum In The Madhouse
Subscribe to DIY Labs: http://bit.ly/DIYLabsCHRISTMAS WREATH 🎄 Paper Plate Craft | Fast-n-Easy | DIY LabsWhat you'll need:☆ 1 paper plate☆ a white, a ligh.
Fall Leaves Paper Plate Wreath Craft Glitter On A Dime
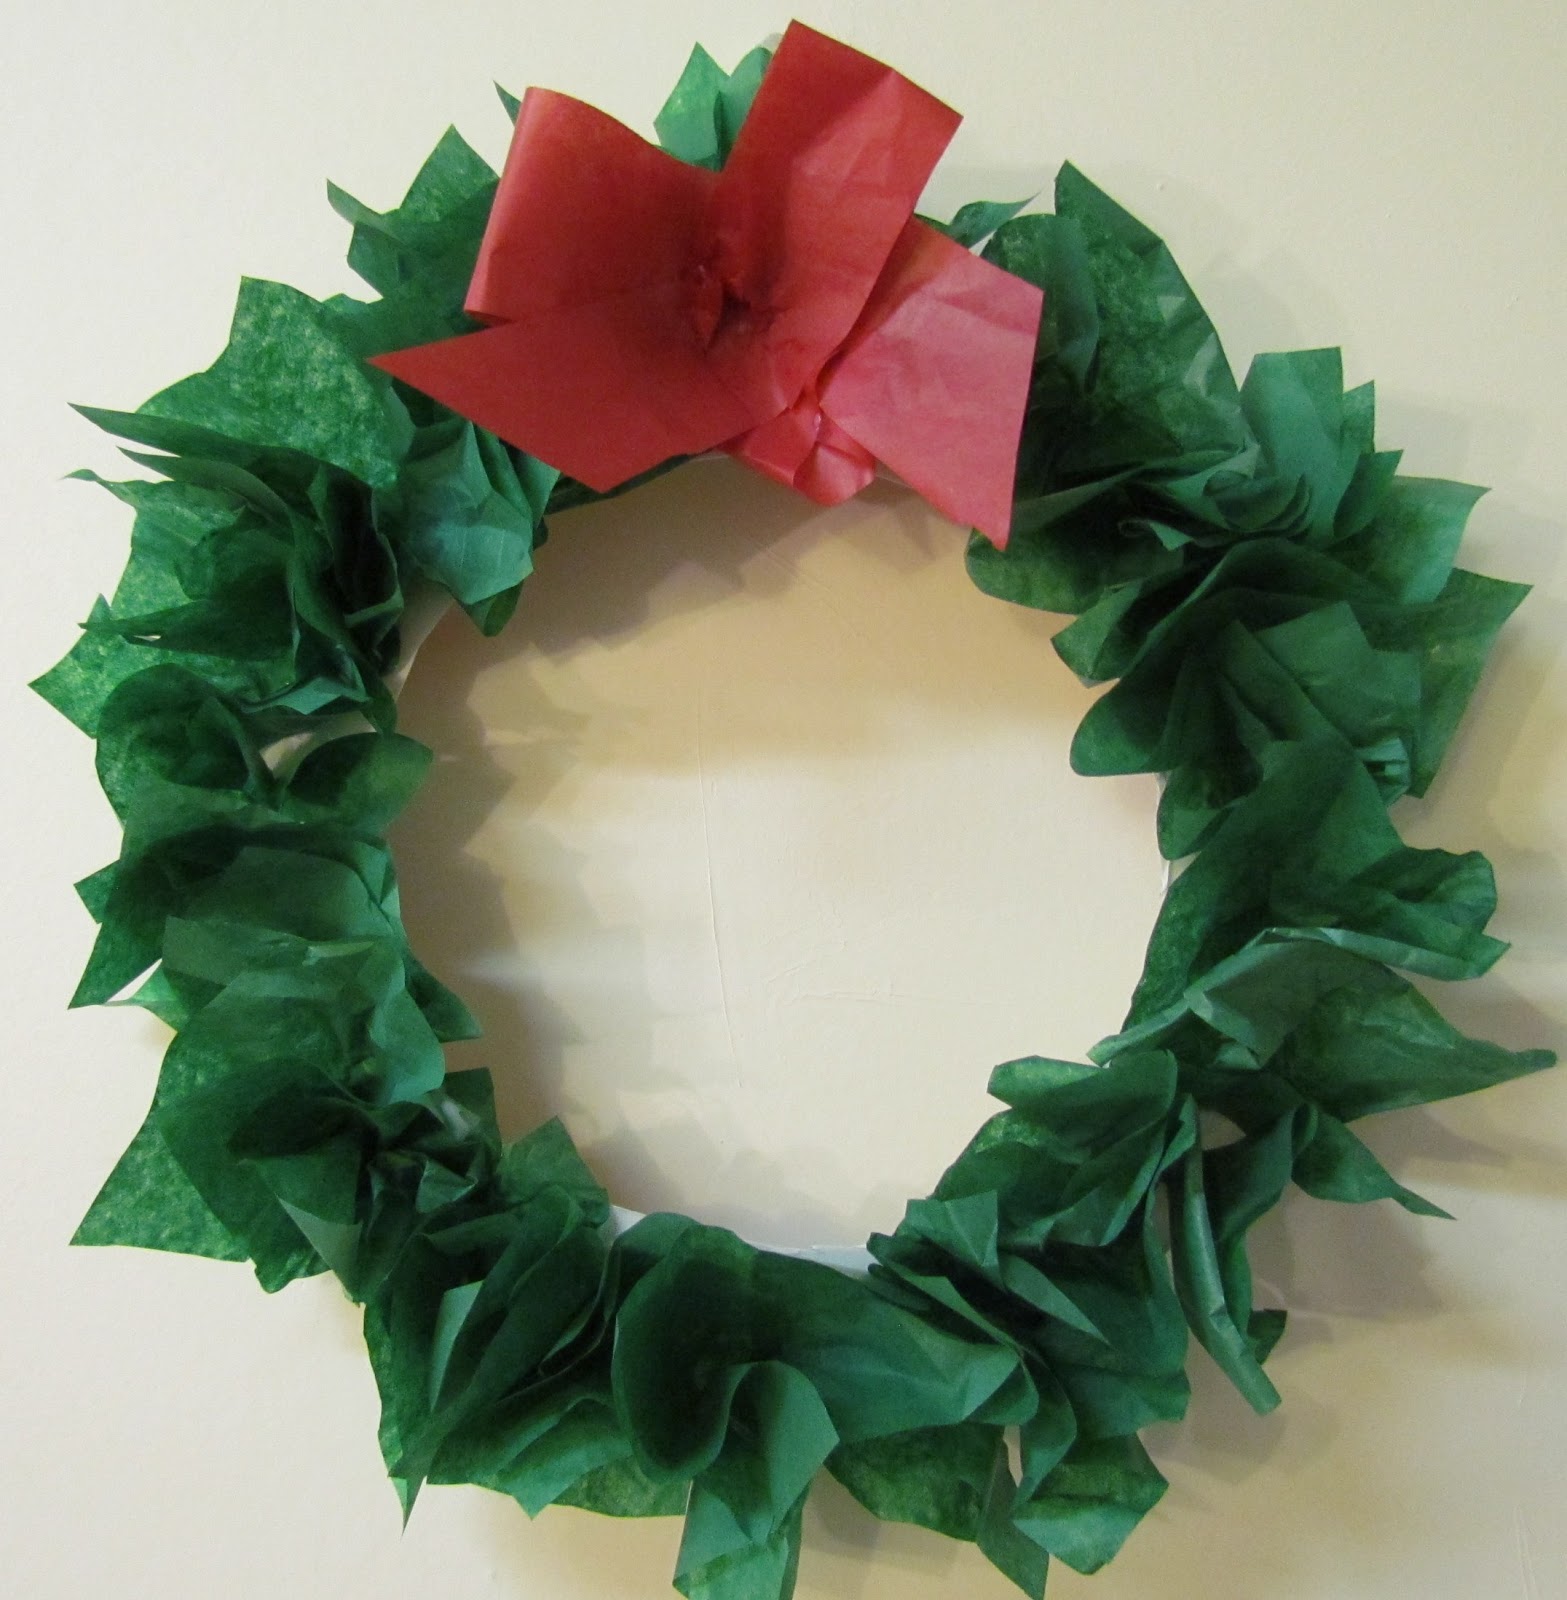
Adding Tissue Paper Berries to the Wreath. Once our Christmas paper plate craft was satisfactorily covered with green tissue paper squares, it was time to turn our attention to the pre-cut squares of red tissue paper. Dessa squeezed and squished each red piece of tissue paper into tiny red decorative berries for our wreath (or as Dessa.

Kids’ Christmas Crafts Made from Paper Plates
Grab the green construction paper and fold it in half. Fold in half again. Follow the creases as a cutting line until you have multiple green strips. Flip over the paper plates. Glue dots on the plate to glue each paper strip around it and let it dry. Flip it over and glue to the front side (where you colored green).
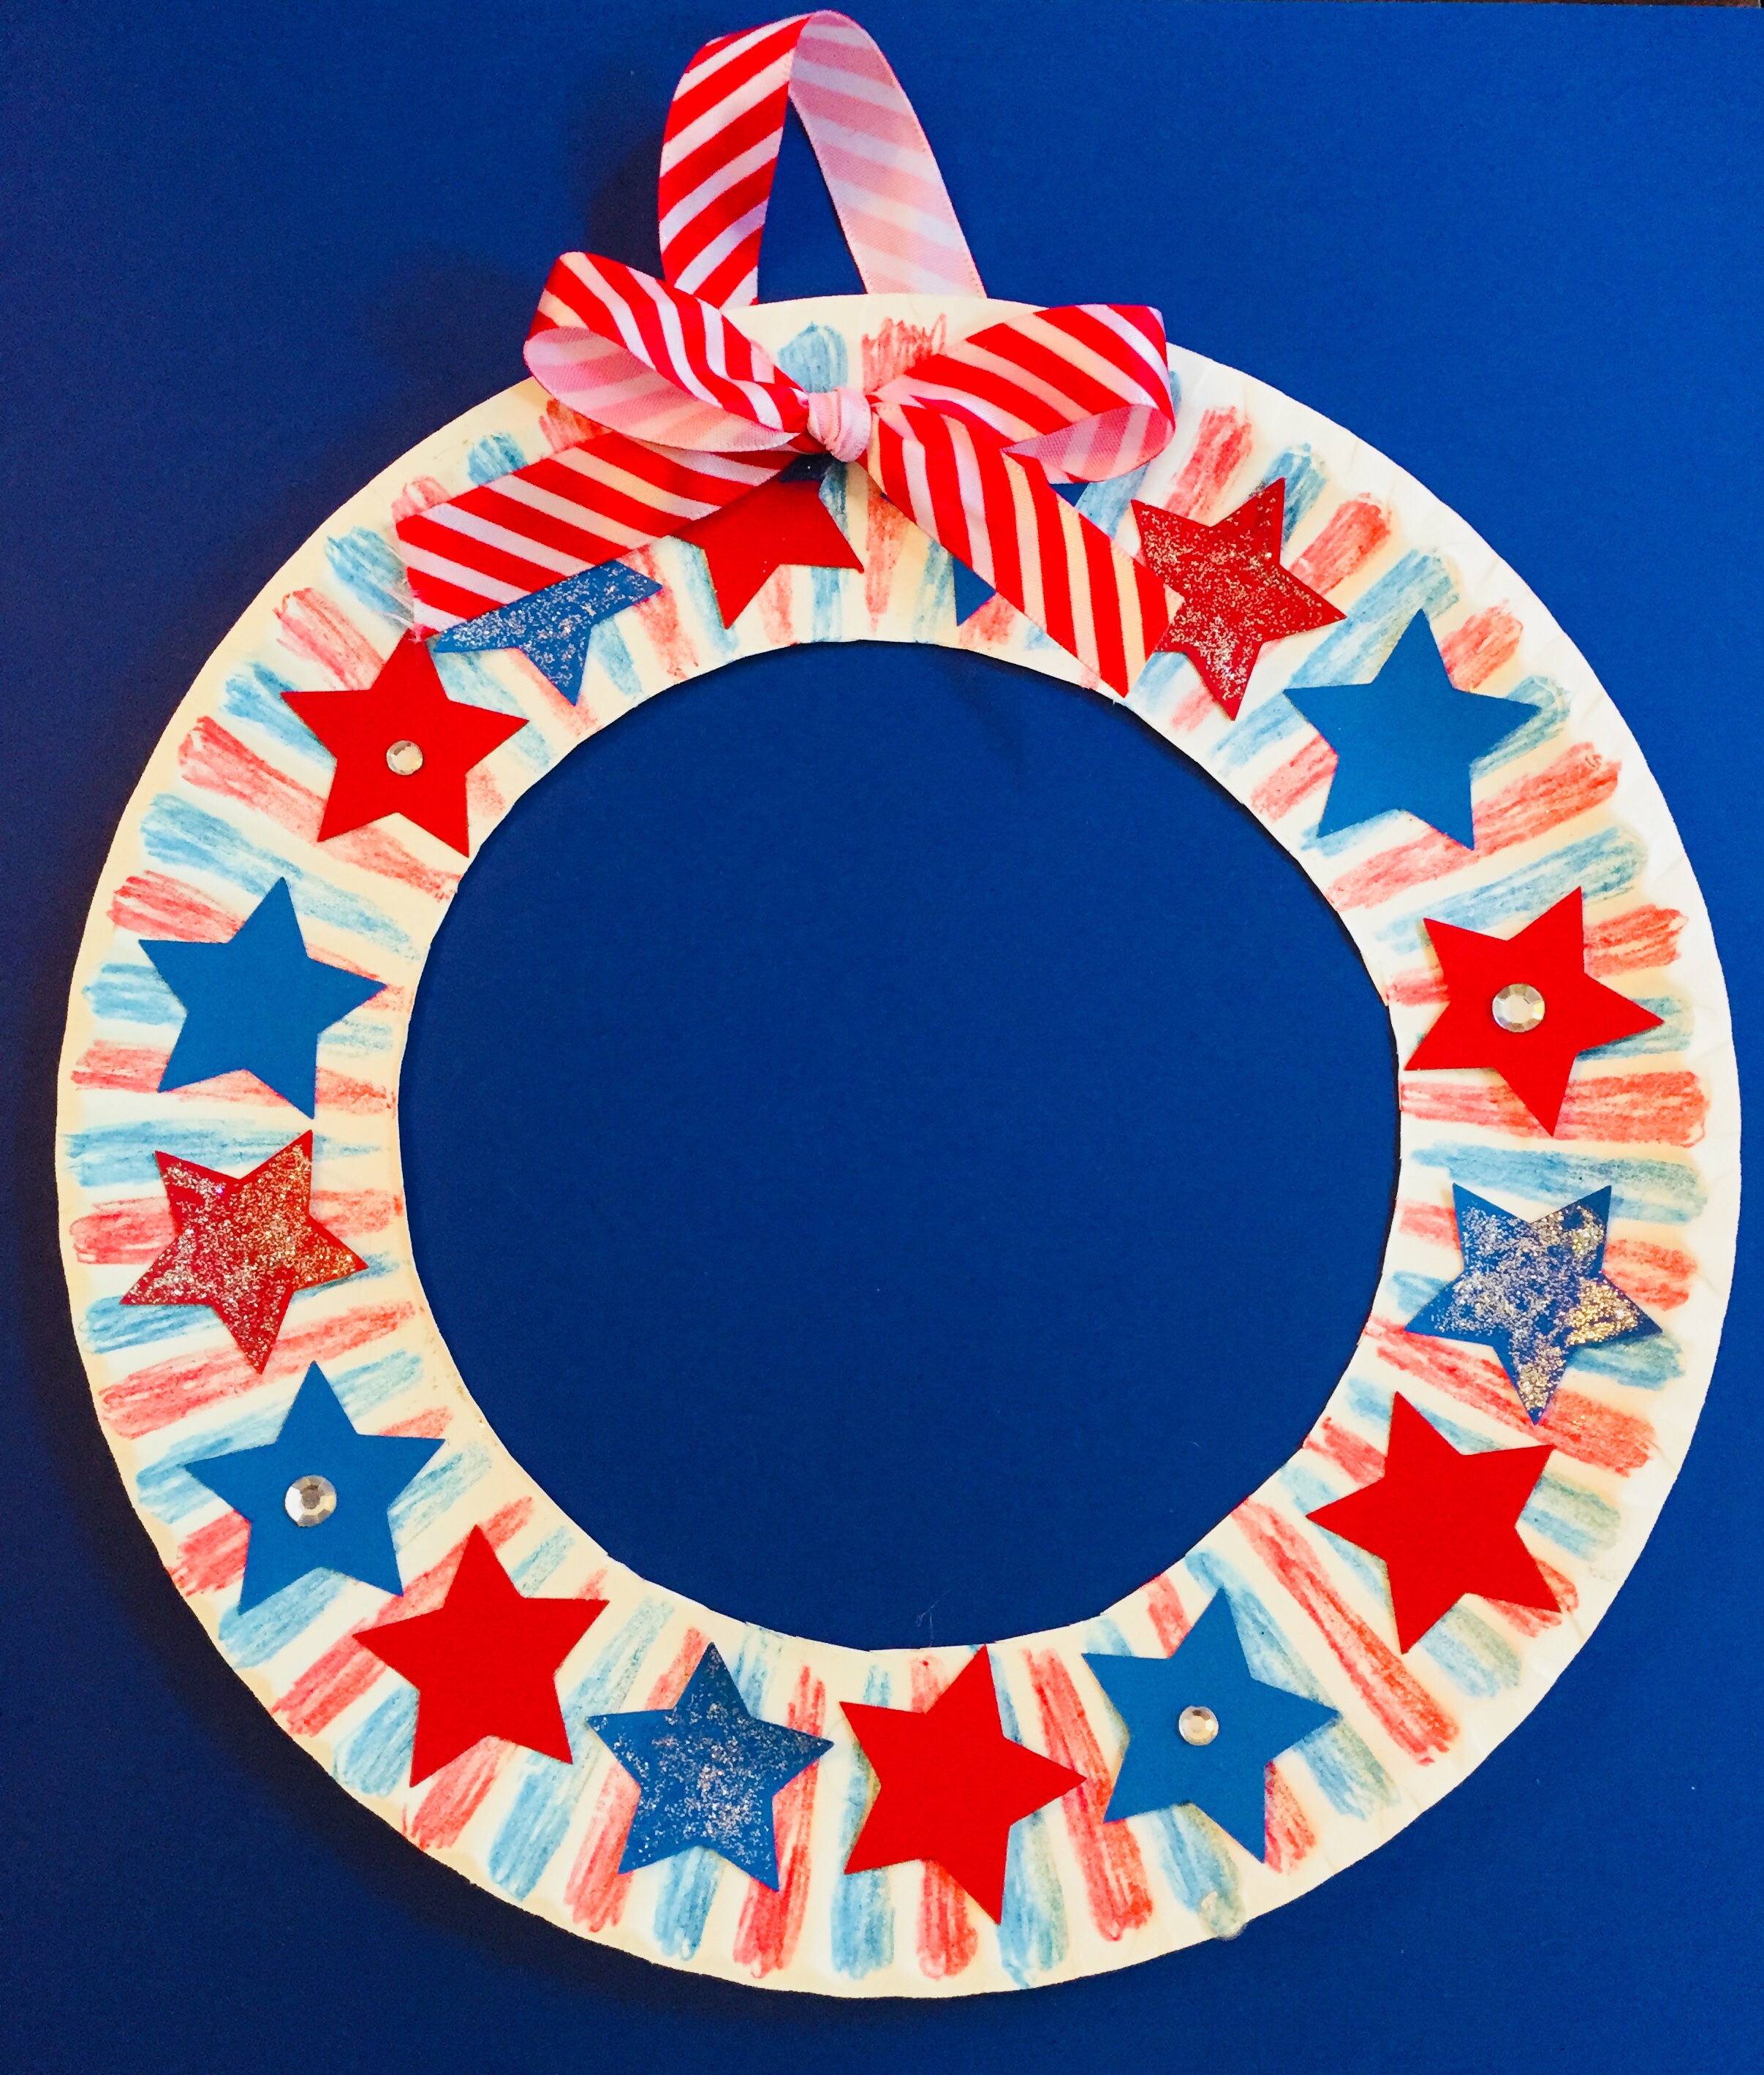
Patriotic Star Wreath Paper Plate Craft Easy Summer Craft for Kids
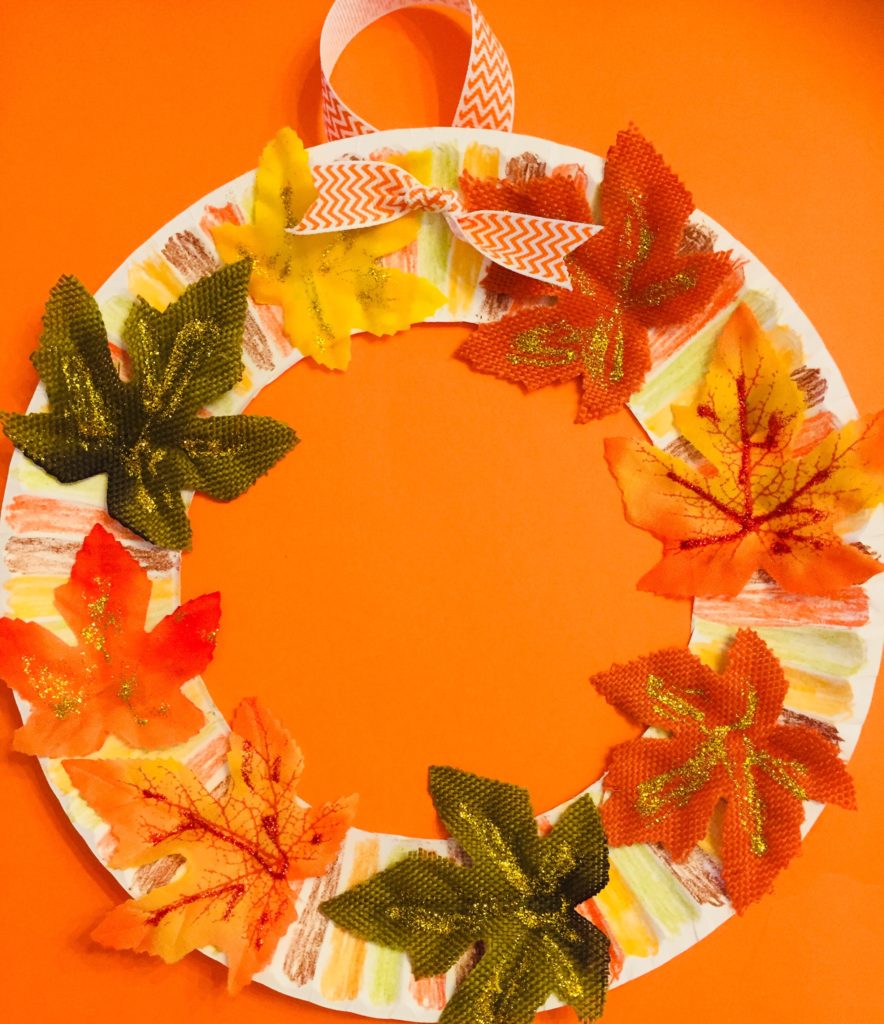
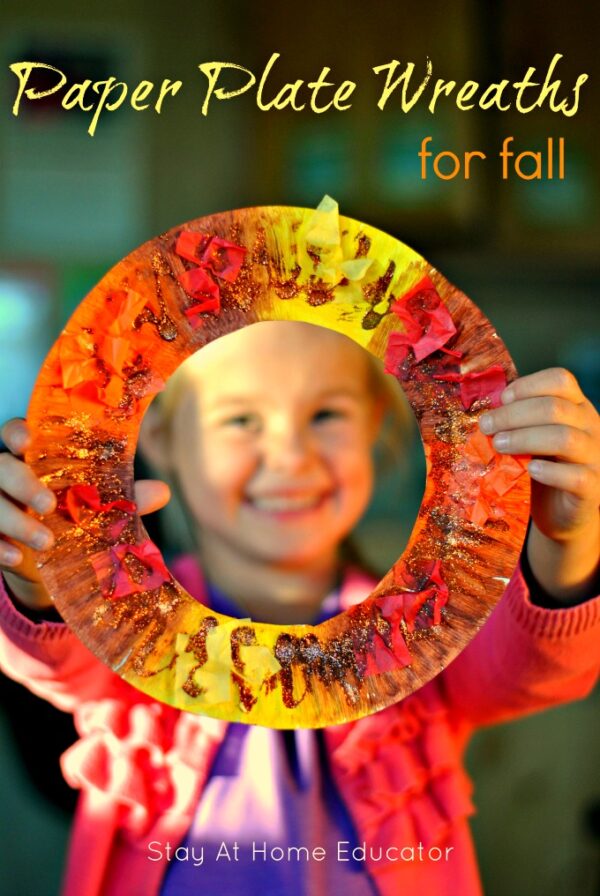
This fall wreath craft is super easy to make and only requires a little bit of prep work for the teacher. 1. Cut out the paper plate wreath shape. Begin by cutting the center out of the paper plate, making it into a ring. I used a traditional 9-inch paper plates for my preschoolers, however a series of 6-inch wreaths hanging from a door would.

Winter Paper Plate Wreath Easy Craft for Kids Glitter On A Dime
Step 2: Making the base of the paper plate wreath. To make the base, draw two circles at the center of the paper plate. You can draw it first using a compass and a pencil and then use a marker pen to trace along the circles. And cut the circle out as shown in the top right picture of the collage. Next, mark two lines on the circle as shown in.

Paper Plate Easter Wreath Easy Craft for Kids Glitter On A Dime
First cut the center of your paper plate out, leaving a ring for the wreath. Discard the center of the paper plate. Next you {or your child} should tear/cut up the green crepe paper into squares. Now put a good layer of glue all around the the paper plate ring. Have your child place the crepe paper squares on it, until it's completely covered.

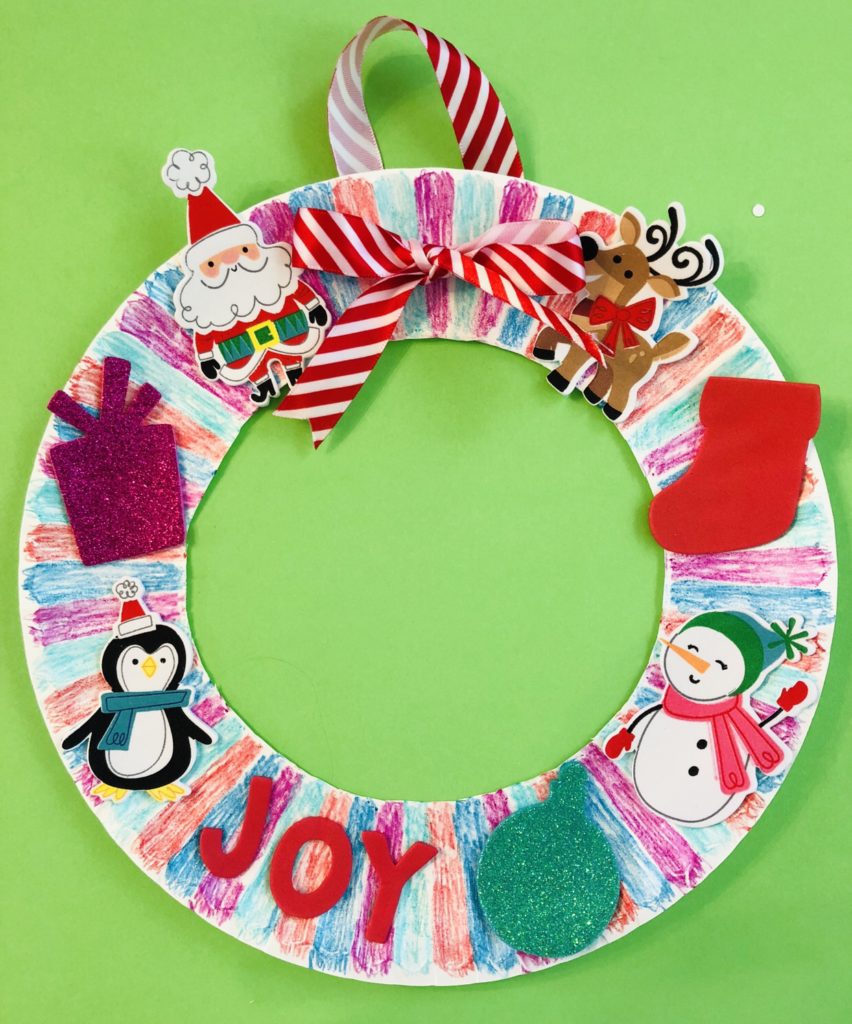
Paper Plate Christmas Wreath Craft Crafty Morning
Directions. First, carefully poke a hole in the center of one of the paper plates. Then cut the center of the paper plate out. Next, add green paint to another paper plate. Dip the round foam brush in the paint then stamp the paper plate with the missing center. Make sure to completely cover the paper plate. Set aside the paper plate to dry.
Paper Plate Christmas Wreath Craft Glitter On A Dime
Cut each cardboard tube into three equal pieces. Glue the cardboard tube pieces around the rim of the plate surrounding the middle hole. Cut a length of ribbon and tie it into a bow. Glue the bow in place at the top of the plate wreath. Glue pom poms in a random pattern to the cardboard tubes to look like holly berries.

Paper plate wreaths with tissue paper. Grandchildren Projects Pin…
Materials used for Paper Plate Christmas Wreaths. Paper plate. Make sure it is the type that has the feel of paper and not foam plastic. Foam plastic paper plates doesn't is not very adhesive. Adhesive. Glue stick, PVA glue, glue gun can be used depending on the type of materials to be stuck on the plate. Glue stick is the safest for kids to use.
Learn To Grow DIY Paper Plate Tissue Paper Christmas Wreath
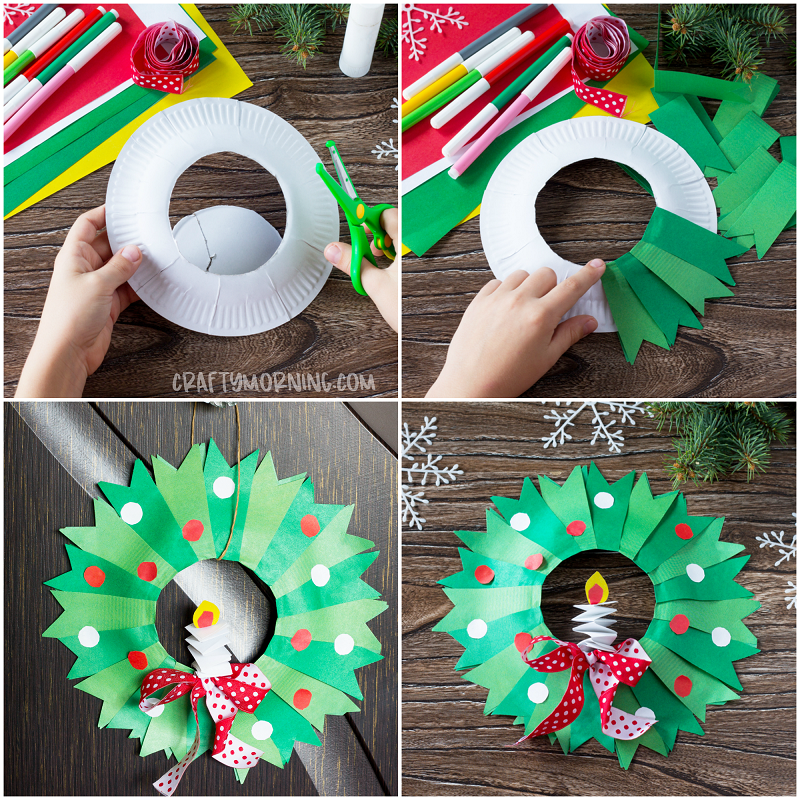
Make this fun paper plate wreath craft with the kids this Christmas! It's so easy and beautiful to hang up for decoration! Start by cutting out a circle in the middle of the paper plate. Cut strips of light and dark green colored paper. Loop it around the plate then glue the ends together. Once they dry, go around and cut little triangles out.
Paper Plate Christmas Wreath Kid Craft The Resourceful Mama
The essentials are a jar lid to hold glue for dipping, the tissue paper squares and the paper plate wreath base. Demonstrate How-to: Add a dollop of white glue to the jar lid. Take a tissue square and loosely scrunch it up between your hands. Dip this loose wad of tissue into the glue then press it onto the wreath. Ask the kids to do the same.
Paper Plate Christmas Wreath Craft Crafty Morning
Glue the ribbons on the back of the bow. Cut a red paper strip, add glue on one end and make a red paper loop. Stick it on the bow. Apply glue on the back of the bow and press it on the paper plate Christmas wreath. Now it's time to decorate. We decorated ours with pom poms. Apply glue on the pom pom (or use a glue dot) and stick it on the.

Christmas wreath made from paper plate and tissue paper Christmas crafts, How to make wreaths
Begin by using scissors to cut out the center of your heavy duty paper plate to create a wreath shape. 2. Paint the paper plate wreath with green paint. Set aside the paper plate for the paint to dry completely. 3. Use a paper cutter to cut strips of green cardstock or construction paper 1-1/2 inches by 8-1/2 inches.

Paper Plate Christmas Wreath Kid Craft The Resourceful Mama
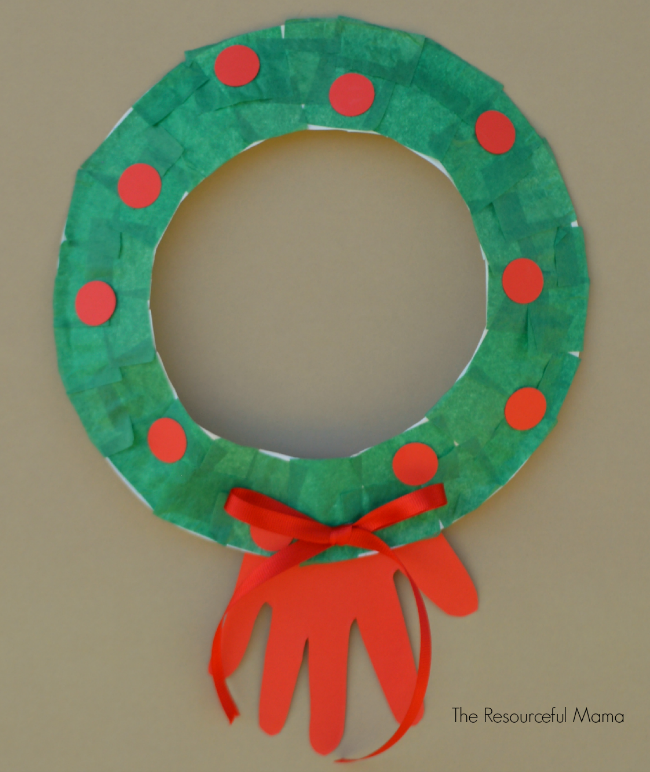
The outside rim will be your Christmas wreath. 2. Cut or tear the green tissue paper into pieces and glue onto the paper plate. Great fine motor practice for the kids. 3. Cut small circles from red paper for the berries. We used our craft punch. Glue around the paper plate on the on top of the green tissue paper in various spots.

Save Green Being Green Star Paper Plate Wreath
Creating a Paper Plate Christmas Wreath Craft is an engaging activity that combines the joy of the holiday season with the fun of do-it-yourself projects. Suitable for crafters of all ages, this craft involves transforming simple paper plates into festive wreaths that can adorn any space, bringing a touch of handmade charm to Christmas decorations.
Paper Plate Wreaths for Fall a Festive Process Art Activity
Begin by printing the art for the wreath (see below). Next, paint or color a paper plate their desired color (s) (image1). Next, fold the plate in half and cut a circle out (image 2). Color and then cut out the art for the wreath (image 3). Tape or glue on the wreath (image 4).